![]()
![]()
You can edit any Web Payment Page to change the included fields, the payment types accepted, whether it will enable schedule entry, the color scheme, the terms and conditions, and/or the contact information used on the form. Follow the steps below:
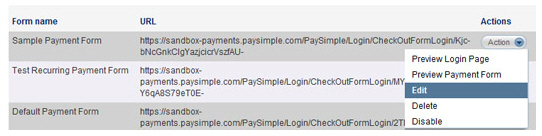
Locate the form you want to edit in the WEB PAYMENT PAGE TEMPLATES table on the Web Payment Pages dashboard.
Click the Action button for the form you want to edit, then click the “Edit” link.
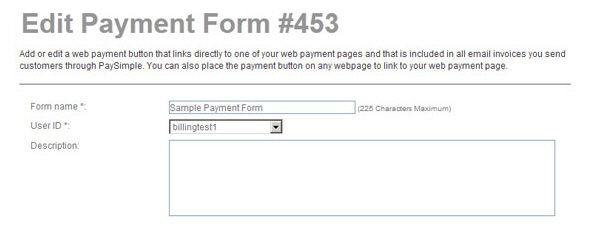
The
Edit Payment Form screen opens,
as shown below.
NOTE: The page header will indicate the
Payment Form
ID referenced in the WEB PAYMENT BUTTONS table. (See Using
Web Payment Buttons.)
For example, in this screen capture, the Payment
Form ID is 453.
Make changes to any of the fields in any section of the Web Payment Page. (See Add a Web Payment Page above for detailed descriptions of all fields and sections on a Web Payment Page.)
When you’re done, click the “save” button to save your changes. Or click the “back to payment page & buttons list” to discard them and leave the page as is.
You return to the WEB PAYMENT PAGE TEMPLATES table, where you can preview your changes. (See Preview a Web Payment Page above.)