![]()
![]()
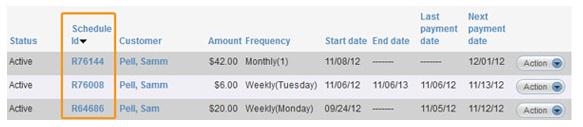
You can view full details of any ReceivablesPro schedule, regardless of schedule status. To do this, click the linked Schedule Id for any schedule as shown below:
The schedule will open so that you can review all of its settings. Schedule view mode enables you to review all components of the schedule exactly as you entered them. Additionally, you will see a new section in the schedule called Payment history, as shown below.
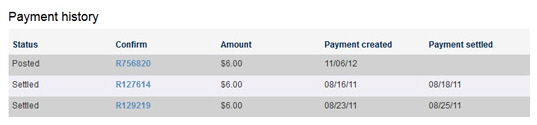
The table in this section will display every payment generated by the schedule and provide:
Status-- The status of the payment. (See Filter by Transaction Status for definitions of payment statuses.)
Confirm-- The payment Confirmation #.
Amount-- The payment amount.
Payment created-- The date the system processed the payment.
Payment settled-- The date the payment was settled. Or, if the payment is not yet settled or if it failed, the field will be blank.
To see details of any transaction, click the Confirmation # to open its Transaction Details page. (See Viewing Transaction Details for a complete description of the Transaction Details page.)
To suspend the schedule click the “suspend schedule” link at the top-right of the screen. This will open the suspension options pop-up window which you should configure and submit to suspend the schedule either indefinitely or until a pre-defined resume date. (See Suspending/Resuming Recurring Payment Schedules for detailed instructions.)
When you are done viewing a schedule, click the “cancel” button at the bottom of the page to return to the manage recurring payments screen.