![]()
![]()
Follow these steps to add a new user:
At the bottom of the Users dashboard, click the “add a new user” button.

The Add user screen opens, as shown below:
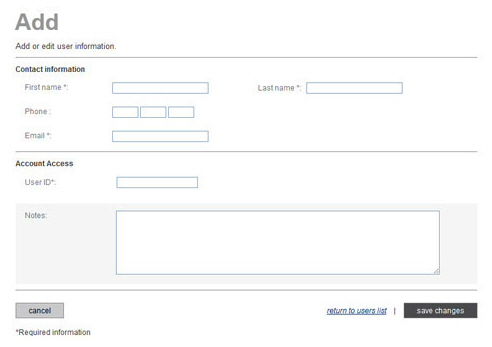
Enter the user’s First name. (Required)
Enter the user’s Last name. (Required)
Enter the user’s Phone number. (Optional)
Enter the user’s Email
address. (Required)
NOTE: Double check that you have the correct email address, since this
is the address to which the New User Activation Email and any future
password reset emails will be sent.
Enter a User
ID, which must contain at least 6 characters. (Required)
NOTE: This User ID must
be unique in the entire ReceivablesPro system,
not just within your account. Keep this in mind when creating it.
Using an email address is typically a safe choice. When activating
their User account, individual Users can change the User ID assigned
when the User was created. Once a User ID is chosen during Account
Activation it can no longer be changed.
Enter Notes about the user in the provided text area. (Optional)
Click the “save changes” button to continue. (Or click the “cancel” button to discard the user and return to the Users dashboard.)
The Please Select Role pop-up screen opens.
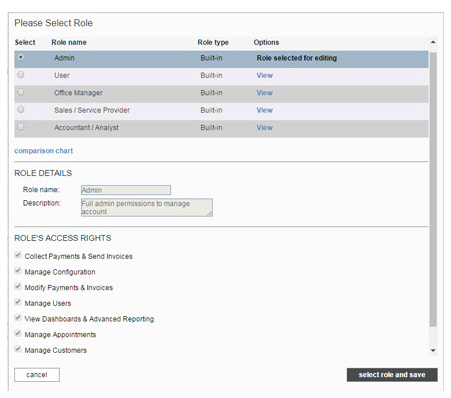
Select the radio
button for the role you want to assign to the new user.
NOTE: When you select a radio button
the permissions granted to that role will be displayed in the ROLE DETAILS and ROLE’S
ACCESS RIGHTS sections.
You cannot edit roles from this screen. (See Roles for
a description of the built-in roles, and for instructions on how to
add, edit, and delete custom roles.)
Click the “select role and save” button to create the user (or click the “cancel” button to discard the user and return to the Users dashboard.)
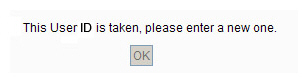
If there is an error, you’ll see an error message indicating elements that need to be corrected. Click “ok” to close the error message and return to the Add user screen. Make the required correction(s) and click the “save changes” button at the bottom of the screen to continue. For example, if you entered a User ID that already exists in ReceivablesPro, you would see an error message like the one below:
You will return to the Users dashboard, and the user you just created will be at the bottom of the Users table, with a Status of “Active.”
The
system will send an email to the user containing a link that can be
used to set a password and security questions and activate the User
account.
NOTE: The email will be sent to the email address entered in the Email field when the user was
created. If the email is not received, double check that the email
address was entered correctly. If it was, have the person check SPAM
and junk folders for the email.
NOTE: The activation link in the email will be functional
for 72 hours. If it is not used within that time frame, you will need
to delete the original User and then create a new User in its place.
When the User logs in for the first time they will be prompted to set a personal password and will be required to set three security questions. Setting Security Questions will enable the User to re-set a forgotten password from the log-in screen without assistance. (See Managing Your Security Questions above for more information.)
Once a user is created, you can edit, disable, or delete the user as required.
