![]()
![]()
You can add as many custom roles to your ReceivablesPro account as you like. Follow the steps below to add a new role:
On the Role Management screen, click the “add new role” button at the bottom of the page.
All fields in the ROLE DETAILS and ROLE’S ACCESS RIGHTS sections will be cleared, a “save” button will appear on the bottom-right of the page, and a “cancel” button will appear on the bottom-left of the page.
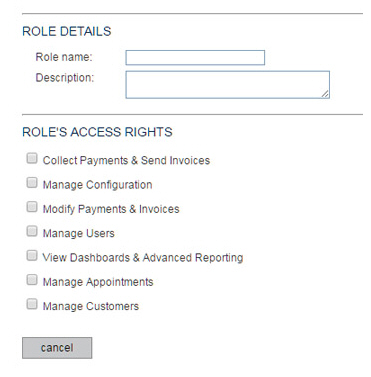
Enter a Role name. This is the name that will appear in the Role column in the User Management table when the role is assigned to a user.
Enter a Description. This area is for your use, so you can provide a brief description of what the role does and the type of user to which it should be assigned. (Optional)
In the ROLE’S ACCESS RIGHTS section, click the checkbox for each right you want to assign the role. (See Role Components above for a detailed description of the functional permissions provided by each access right.)
When you’re finished configuring the role, click the “save” button at the bottom-right of the screen to create the new role, or click the “cancel” button to discard it.
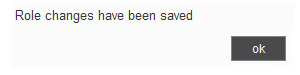
A pop-up window will appear, confirming that the new role has been saved. Click “ok” to close it and return to the Manage Roles screen.
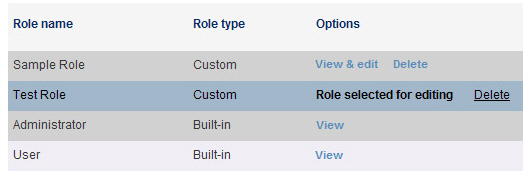
You will see the role you just created highlighted in the table, and it can now be assigned to users. (See Assign Roles above.)
NOTE: You will only see a “cancel” button and a “save” button at the
bottom of the screen at this point. The “add new role” button will
no longer be visible. If you want to add another role, click the roles tab
to reset the screen and activate the “add new role” button.