![]()
![]()
Every new User receives an email providing a User Account Activation Link. Use the link in the email to activate and configure your account.
Click the link in the Email.
The Account Setup screen opens with Step 1: Set up your account, active.
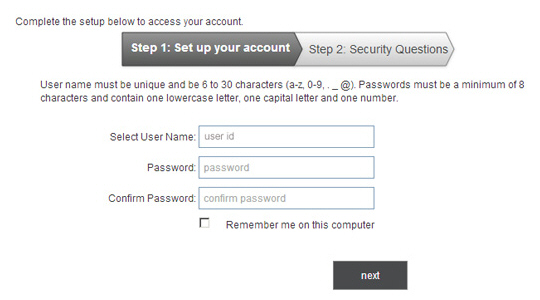
Review
the User ID, and make
changes if desired, making sure it adheres to User ID Requirements.
NOTE: The Master Administrator User will
need to enter an ID in the blank User
ID field.
Enter a password, making sure it adheres to Password Requirements, in the Password field.
Re-type the password in the Confirm Password field.
Check the “Remember
me on this computer” box to set a cookie on your computer that will
automatically auto-fill your User ID each time you access the ReceivablesPro login screen.
NOTE: This is an optional step. If you
check the box now, you can remove the remember me cookie by unchecking
the box on the ReceivablesPro
login screen. (See
the note below.)
Click
the “next” button.
NOTE: If there are any errors in Step
1, for example if the Password and Confirm
Password field do not match,
you will see an on-screen error. Correct the problem and click “next”
again.
The Step 2: Security Questions screen opens.
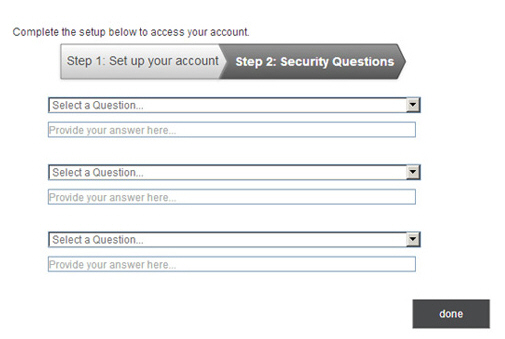
Select
a question from the first Security
Question drop-down box and type the answer to the question
in the first Security Answer field.
NOTE: The answer is not case sensitive.
Select a question from the second Security Question drop-down box and type the answer to the question in the second Security Answer field.
Select a question from the third Security Question drop-down box and type the answer to the question in the third Security Answer field.
Click
the “done” button to record your questions and answers, and activate
your account.
NOTE: You are required to select three
unique questions and provide three unique answers. If you do not,
you will see an on-screen error message. Correct the problem, then
click “done” again to activate your User account.
You will be logged in to ReceivablesPro and shown the Dashboard.
The next time you log-into ReceivablesPro, use the User ID and Password you just set.
NOTE: You can review and change your security questions and password from the Settings--> Configuration--> Account Access screen. (See Account Access in Chapter 8 for instructions on how to do this.)
|
SPECIAL
STEP FOR THE MASTER ADMINISTRATOR USER 
|

