![]()
![]()
Bank accounts (ACH Accounts) can be added via manual entry while collecting a payment, or manual entry while managing Customer Records. For instructions on the first method see Adding Bank Accounts. To manually enter a bank account from the Customer Details screen, follow the steps below.
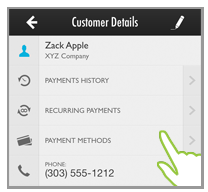
From the customer Details screen, tap PAYMENT METHODS.
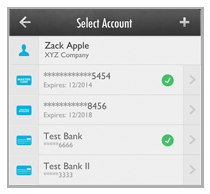
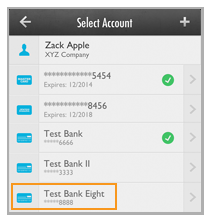
If
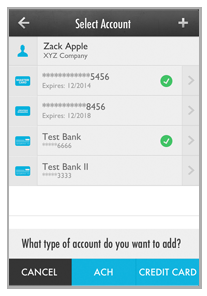
there are bank accounts saved with the customer they will be displayed.
NOTE: The check marks in the green
circles denote the default credit card and default bank account.
You can change the default account from the web-based UI
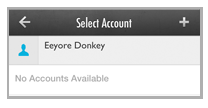
If no accounts are saved, that will be indicated as shown below:
Tap the + icon to the right of the Select Account header.
The Type of Account bar opens at the bottom of the screen. Tap ACH.
The Add ACH Account screen opens.
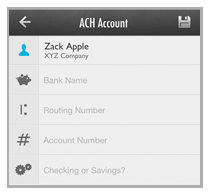
Tap the Bank Name field to open the keyboard and enter the name of the customer’s bank.

Tap the Routing Number field to open the keypad. Enter the 9-digit routing number for the customer’s account.
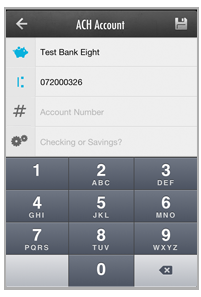
Tap the Account Number field to enter the bank account number.
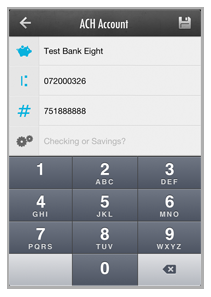
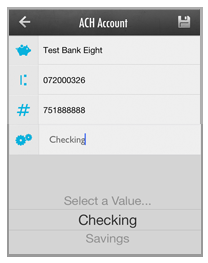
If the account is a checking account you do not need to make a selection in the Checking or Savings? field, it will always default to “Checking.” If you are entering a savings account, tap the field to open the selection wheel. and select “Savings.”
Tap the Save icon at the top-right of the
screen
NOTE: The Routing Number entered is validated.
If it is not a valid number, you will see an error and be returned
to the Add
ACH Account screen. Correct the
entry and save again
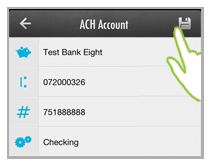
.
You are returned to the Select Account screen with the payment account you just added at the bottom of the ACH Accounts list.
Repeat these steps to add as many additional bank accounts to the Customer Record as you like.