![]()
![]()
The Recurring Payments with Expiring Credit Cards standard report contains a row for each recurring payment schedule, whose next payment date falls within the range you select in the Dated within field, and uses a credit card that will expire in the next 90 days as the payment method.
The default report view shows schedules with next
payments occurring in the next 90 days. When you are done viewing the
report, click the “back to report summary” link at the bottom of the screen
to return to the Reports dashboard.
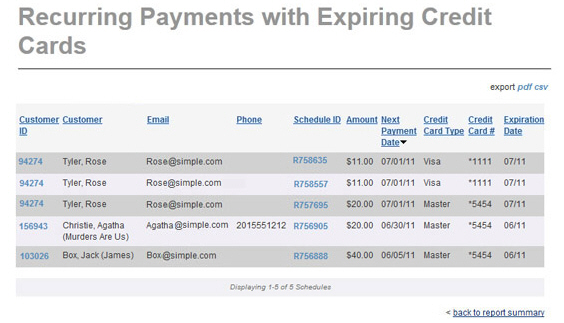
The table displays 10 rows at a time, and lists the schedules by Next Payment Date (with those furthest-in-the future shown first.) To reverse the order, click the linked Next Payment Date column header. If there are more than 10 schedules, there will be page numbers at the bottom of the table. Click the linked page numbers to navigate through the table results.
Definitions of all fields included in the report are provided below. You can click on any of the linked column headers to sort the table results based on that column.
Customer
ID-- Each customer in your ReceivablesPro system
is assigned a unique Customer ID.
You can sort the report by Customer
ID. Click once to sort from high-to-low (newest/most recently
added customers to oldest customers), and click again to sort from
low-to-high (oldest customers to newest customers).
The Customer ID is linked
in this report. Clicking the linked Customer
ID opens the Customer Record in view mode. Click the back
button to return to the report when you’re done with the Customer
Record.
Customer-- The last name of your customer followed by a comma followed by the first name of your customer. For business customers, the company name is included in parenthesis. The sort is alphabetical by last name. Click once to sort from A-to-Z, click again to sort from Z-to-A.
Email-- Your customer’s primary email address. The sort is alphabetical. Click once to sort from A-to-Z, click again to sort from Z-to-A.
Phone-- Your customer’s primary phone number. The sort is numerical by area code then prefix. Click once to sort low-to-high, click again to sort high-to-low.
Schedule
ID-- The schedule ID for the schedule to which the expiring
credit card is attached. All schedule IDs have an “R” prefix, and
that is ignored in the sort. Click once to sort low-to-high, click
again to sort high-to-low.
The Schedule ID is linked
in this report. Clicking the linked Schedule
ID opens the schedule in view mode. Click the back button
to return to the report when you’re done with the schedule.
Next Payment Date-- The next date the schedule is programmed to generate a payment. The default sort for the table is furthest away-to-closest. Click the linked header to sort from closest-to-furthest away.
Credit Card Type-- The type of credit card used for the schedule-- Visa, Master (for MasterCard), AMEX (for American Express), or Discover. The sort is alphabetical. Click once to sort from A-to-Z, click again to sort from Z-to-A.
Credit Card #-- The last four digits of the expiring credit card. The sort is numerical. Click once to sort low-to-high, click again to sort high-to-low.
Expiration Date-- The month and year the credit card expires. The sort is by date. Click once to sort from future-to-past, click again to sort from past-to-future.
You can change the date filter on the report by selecting
a new date range in the Dated within
drop-down box. (See
Filtering Standard Reports By Date below.)
NOTE: The default selecting in the “date
filter” box is “Next 90 Days.” When you change this selection the “Next”
text is lost, and the box simply reflects the number of days in the date
range. This is cosmetic, you are still filtering based on the “Next” number
of days you select.
Additionally, you can export the report in both .csv (comma delimited text), and Adobe Acrobat .pdf format. (See Exporting Standard Reports below.)