![]()
![]()
You can edit any custom report to change the title, date range, included fields, and payment type and status filters. If you edit a custom report to which you have subscribed (See Subscribing to Custom Reports below), the changes will be reflected in the next report email.
Follow the steps below to edit a custom report:
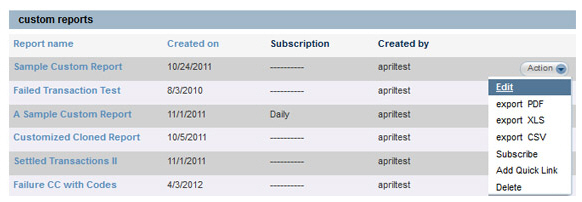
Locate the report you want to edit in the custom reports table.
Click the Action button, then click the “Edit” link.
The Edit Custom Payment Report screen opens, as shown below:
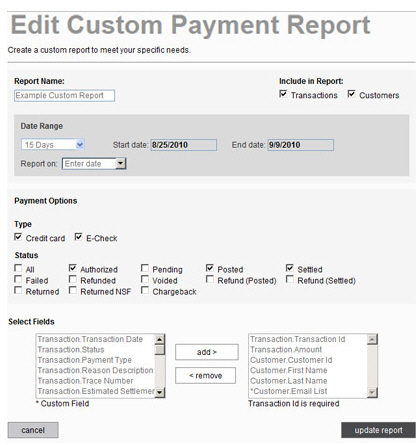
You can make changes to any of the following fields:
Include in Report -- Check
or uncheck either of the boxes.
NOTE: Remember that at least one
box must be checked.
Date Range -- Select a different Report on option. Or, click the down arrow on the date range box to select a different rolling date range, or to enter a different fixed custom date range.
Payment Options: Type -- Check
or uncheck the Credit card and E-Check box.
NOTE: Remember that at least one
box must be checked.
Payment Options: Status -- Check
or uncheck any of the Status boxes.
NOTE: Remember that at least one
box must be checked.
To add a field, highlight it in the left box and click the “add” button to move it to the right box.
To remove a field, highlight it in the right box and click the “remove” button to move it to the left box.
When you’re done making changes, click the “update report” button to save your changes. Or click the “cancel” button to discard the changes.
If there are any errors, they will be noted in red on the screen. Correct them and click the “update report” button again. Otherwise you will see a pop-up window confirming that the changes have been saved.
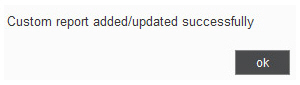
Click the “ok” button to close the pop-up.
You can now:
View the report by clicking its Report Name. (See Viewing Custom Reports above.)
Edit the report again.
Export the report. (See Exporting Custom Reports below.)
Subscribe to the report. (See Subscribing to Custom Reports below.)
Delete the report. (See Deleting Custom Reports below.)