![]()
![]()
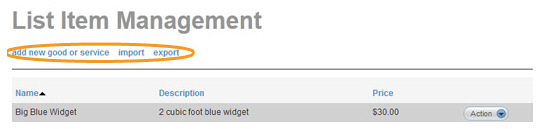
Once you have added items to ReceivablesPro (see Adding New Items above), you can edit them and delete them from the List Item Management screen. Access this screen from the “manage list items” link on the Goods and Services navigation bar, as shown below, or from the “items” link on the configuration tab in the Settings section.

|
When you click the “manage list items” link, the List Item Management screen opens, and you will lose any data you have entered on the send new invoice screen. To avoid losing data, be certain to use this link only from a blank invoice. |
This section will provide instructions for accessing the List Item Management screen from the “manage list items” link on the send new invoice screen. For instructions on accessing the List Item Management screen in the Settings center, see Invoice Items in Chapter 8.
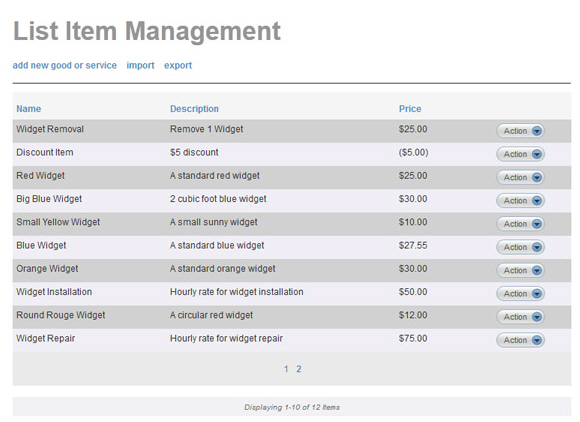
The List Item Management screen displays your items 10 at a time. Use the page number links at the bottom of the table to page through your results. The table contains the item Name, the Description, and the unit Price. Click the linked column headers to sort by that column. (Click once to sort low-to-high, click again to sort high-to-low.) The default sort is to list the oldest item first.
Items can be edited and deleted via links in the Action button menu.
Locate the item you want to edit in the table, and click the “edit” link under the Action button menu.

The Edit Goods & Services screen opens with the current values for the item.
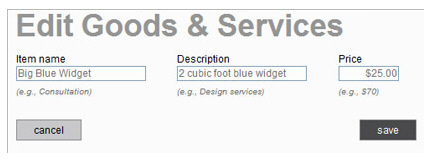
Make changes to the Item name, Description and/or Price as required.
Click the “save” button to save the change (or click the “cancel” button to discard it).
You are returned to the Manage List Items screen, and the changes you made are reflected in the table.
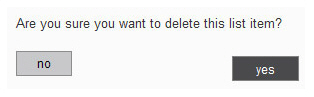
Locate the item you want to delete the table, and click the “delete” link under the Action button menu.

A pop-up window appears asking you to confirm the delete. Click “yes” to delete, or click “no” to leave the item as is.
You are returned to the List Item Management screen and the item no longer appears in the table.
Add, Import, and Export items functions are accessed from the text links at the top of the List Item Management screen. These functions are described in detail in the sections listed below.