![]()
![]()
The first step in entering new invoices and invoice schedules is to load an active customer into the send new invoice form. You can do this by searching for an existing customer, or creating a new one. Follow the steps below:

Enter any portion of the Company Name, First Name or Last Name in the Customer field, as shown above.
A list of potential matches will appear below the Customer field.
Click on the
customer you want to load.
NOTE: If you don’t see the customer you
want, click the “add new customer” link to add it.

Click the “add new customer” link, as shown above.
The add new customer screen opens.
First
Name and Last Name are
required. All other fields are optional. Email
address is required to send an invoice. (See Chapter 6: Customers for detailed information
about adding Customer Records.)
NOTE: If the Customer Record is created without an email address you
will be prompted to enter one prior to sending the invoice.
Click the “save changes” button at the bottom of the screen to save the customer’s information.
|
All customers who receive invoices
MUST have an email address saved in ReceivablesPro. If the customer you select does not have an email address saved, the system will display a pop-up window in which you can enter one, as shown: 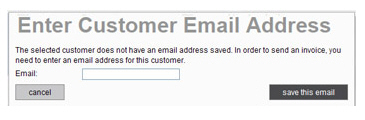
If the customer does not have an email address, and you want to print and mail out an invoice, you can enter a dummy email address such as [email protected]. |
You should now see the customer you selected or entered loaded into the new invoice form, as shown below. At this point you can:
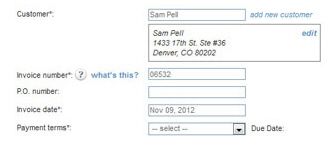
Select a different customer.
Continue with entering the invoice or invoice schedule.
