![]()
![]()
The steps below provide instructions on how customers create a Customer Portal account while making a payment on a Web Payment Page.
At
the bottom of the payment form, locate the Create
Account section, shown below:
NOTE: There is currently no way to hide
this section of the Web Payment Form, so you cannot prevent your customers
from having the opportunity to create an Account. However, this section
is optional, and they are not forced to create one to complete checkout.
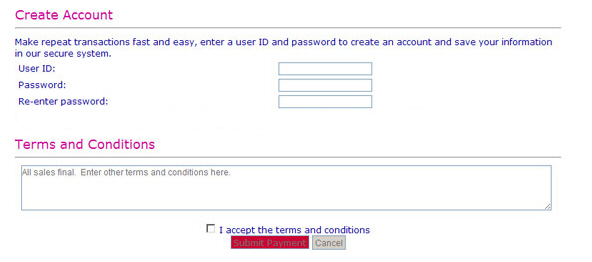
Re-enter the password in the Re-enter Password field.
Check the box at the bottom of the page
to agree to the ReceivablesPro “Buyer
Terms and Conditions” as well as your company’s Terms and Conditions.
NOTE: Customers can click the “Buyer
Terms and Conditions” link located at the very bottom of the screen
to view and print the ReceivablesPro terms
of use. Your Terms and Conditions will be displayed in the box, as
well as on the payment confirmation page where they can be printed.
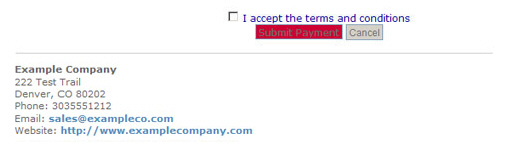
Click the payment button on the page to submit a payment and create a Customer Portal account.
Customers can then use the User ID and password created to login to Customer Portal, or to login to make a payment on any future payment form.
Next Section: Customer Portal Login Screen >