![]()
![]()
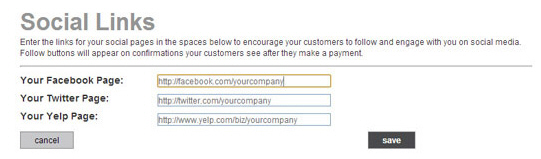
You can encourage your customers to “Like” you on Facebook, follow you on Twitter, or review your business on Yelp while their experience with your company is still fresh by including icon links to your pages on these social media sites from your ReceivablesPro web payment confirmation and invoice payment confirmation pages. To do this, enter your page links for each of these sites on the Social links screen.
Follow these steps:
Open the Settings--> Configuration--> Social Links screen.
In the top portion
of the screen, enter urls for the social links you would like to appear
on your payment confirmation screens.
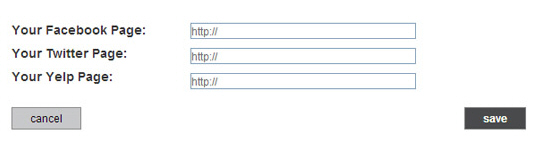
NOTE: Leaving the field blank (or just
displaying “http://”) will instruct the system not to use that link
on your payment confirmation screen.
NOTE: The “http://” displayed in each field is there to remind you
to copy the entire url for your page into the field. Partial urls
that do not include “http://” or “https://” will not work.
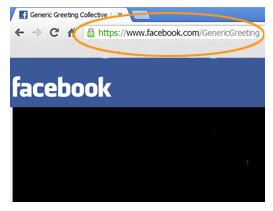
Enter Your Facebook Page link. Go to your Facebook page and copy the complete url for your page from the browser address bar and paste it into the field
Enter Your Twitter Page link. Go to your Twitter page and copy the complete url for your page and paste it into the field.
Enter Your Yelp Page link. Go to your Yelp page and copy the complete url for your page and paste it into the field.
Click the “save” button to save the links you entered (or click cancel to discard them).
You
are returned to the Configuration screen.
The next time you view the Social
Links screen, the links you just configured will be shown in
the fields.
In the example below, we have configured links for Facebook, Twitter,
and Yelp.