![]()
![]()
Follow the steps below to export a custom report as an Excel (.xlsx) file.
|
Excel report exports are in XLSX format. If you are using an older version of Excel, you can install the Microsoft Compatibility Pack so that you can open XLSX files. |
Locate the report you want to export in the custom reports section of the Reports dashboard, and click an Excel export link.
To export the report without first viewing the data, click the “Export XLS” link under the Action button menu.
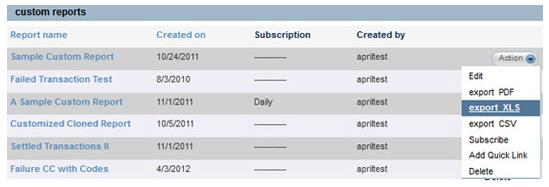
To view the report prior to exporting,
click on its linked Report Name,
then click the “xls” link in the Export line directly above the
report Snapshot.
NOTE: You can filter the report by
Date Range or Payment Method prior to exporting
it; the export will include only those transactions included by
the filters.

Depending on your browser, you will have the option to open and/or save the file.
To open the file, click the “Open” button in the dialog box. The file will open in Excel, but will not be saved. You will need to save the file in Excel if you want to store it on your computer.
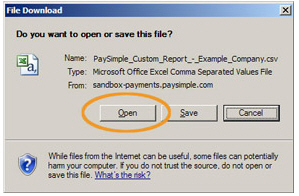
To save the file to your computer.
Click the “Save” button in the dialog box.

A Save As dialog box
opens.
NOTE: In Google Chrome, and some
other browsers, clicking the “xls” link will take you directly
to this step.
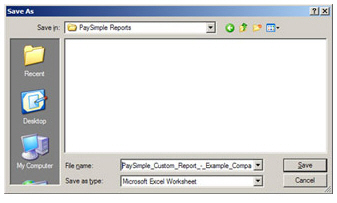
Enter a name for your file, and select a location on your computer where you want to save the file.
Click the “Save” button.
You can now open the report directly from your computer at any time, without being logged into ReceivablesPro.
