![]()
![]()
The Date range filter instructs the report to return only those invoices that were entered into ReceivablesPro (either manually by you, or those automatically generated by a recurring invoice schedule) during the selected date range. You can select one of the pre-configured filters listed below, or enter your own custom date range for the filter.
12 months-- Invoices entered over the past 360 days.
Last 6 months-- Invoices entered over the past 180 days.
Last 90 days-- Invoices entered over the past 90 days.
Last 30 days-- Invoices entered over the past 30 days. This is the default view when you open the manage invoices screen.
Last 15 days-- Invoices entered over the past 15 days.
Today-- Invoices entered on the current calendar day.
Yesterday-- Invoices entered on the previous calendar day.
All-- All invoices in your system.
To create a date range date filter, follow the steps below:
Click the down-arrow for the Date range field.
The date filter will appear as shown below:
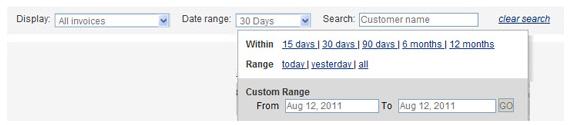
Select the date range to filter. Do one of the following:
To use a pre-programmed range, click the linked date rage. For example, to view invoices entered within the last 15 days, click the “15 days” link.
To enter a Custom Date Range:
Place your cursor in the From field to open the calendar.
Click the day on which you want to start the filter, or type a date in the field.
Place your cursor in the To field to open the calendar.
Click the day on which you want to end the filter, or type a date in the field.
Click
the “GO” button.
NOTE: If you want to see one
day of invoices, enter the same date in the From and
the To fields.
The drop-down box will close, and the table will be filtered based on the date range you selected.