![]()
![]()
Follow the steps below to export your filtered payment history to a .csv file.
Filter the table to define the data set for the export, or leave the default selection of all schedules.
Click the “export” link at the very top of the table, as shown:

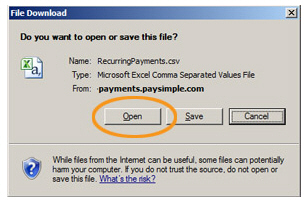
Depending on your browser, you will have the option to open and/or save the file.
To open the file, click the “Open” button in the dialog box. In most cases (unless you have your system default .csv files to a different program), the file will open in Excel, but will not be saved. You will need to save the file if you want to store it on your computer.
To save the file to your computer:
Click the “Save” button in the dialog box.
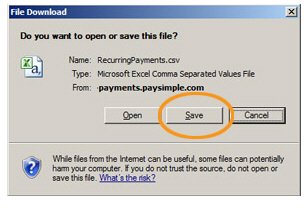
A Save As dialog box
opens.
NOTE: In Google Chrome, and some
other browsers, clicking the “csv” link will automatically
save the file to your Downloads folder. You can open it from
the browser “Downloads” bar or access it from the Downloads
folder later.
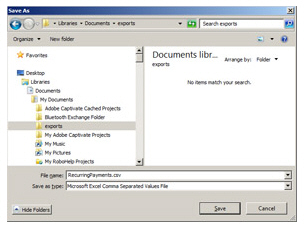
Enter a name for your file, and select a location on your computer where you want to save the file.
Click the “Save” button.
You can now open the export at any time, or import it into an Excel file or other application software.
